Sphinx 一键生成文档
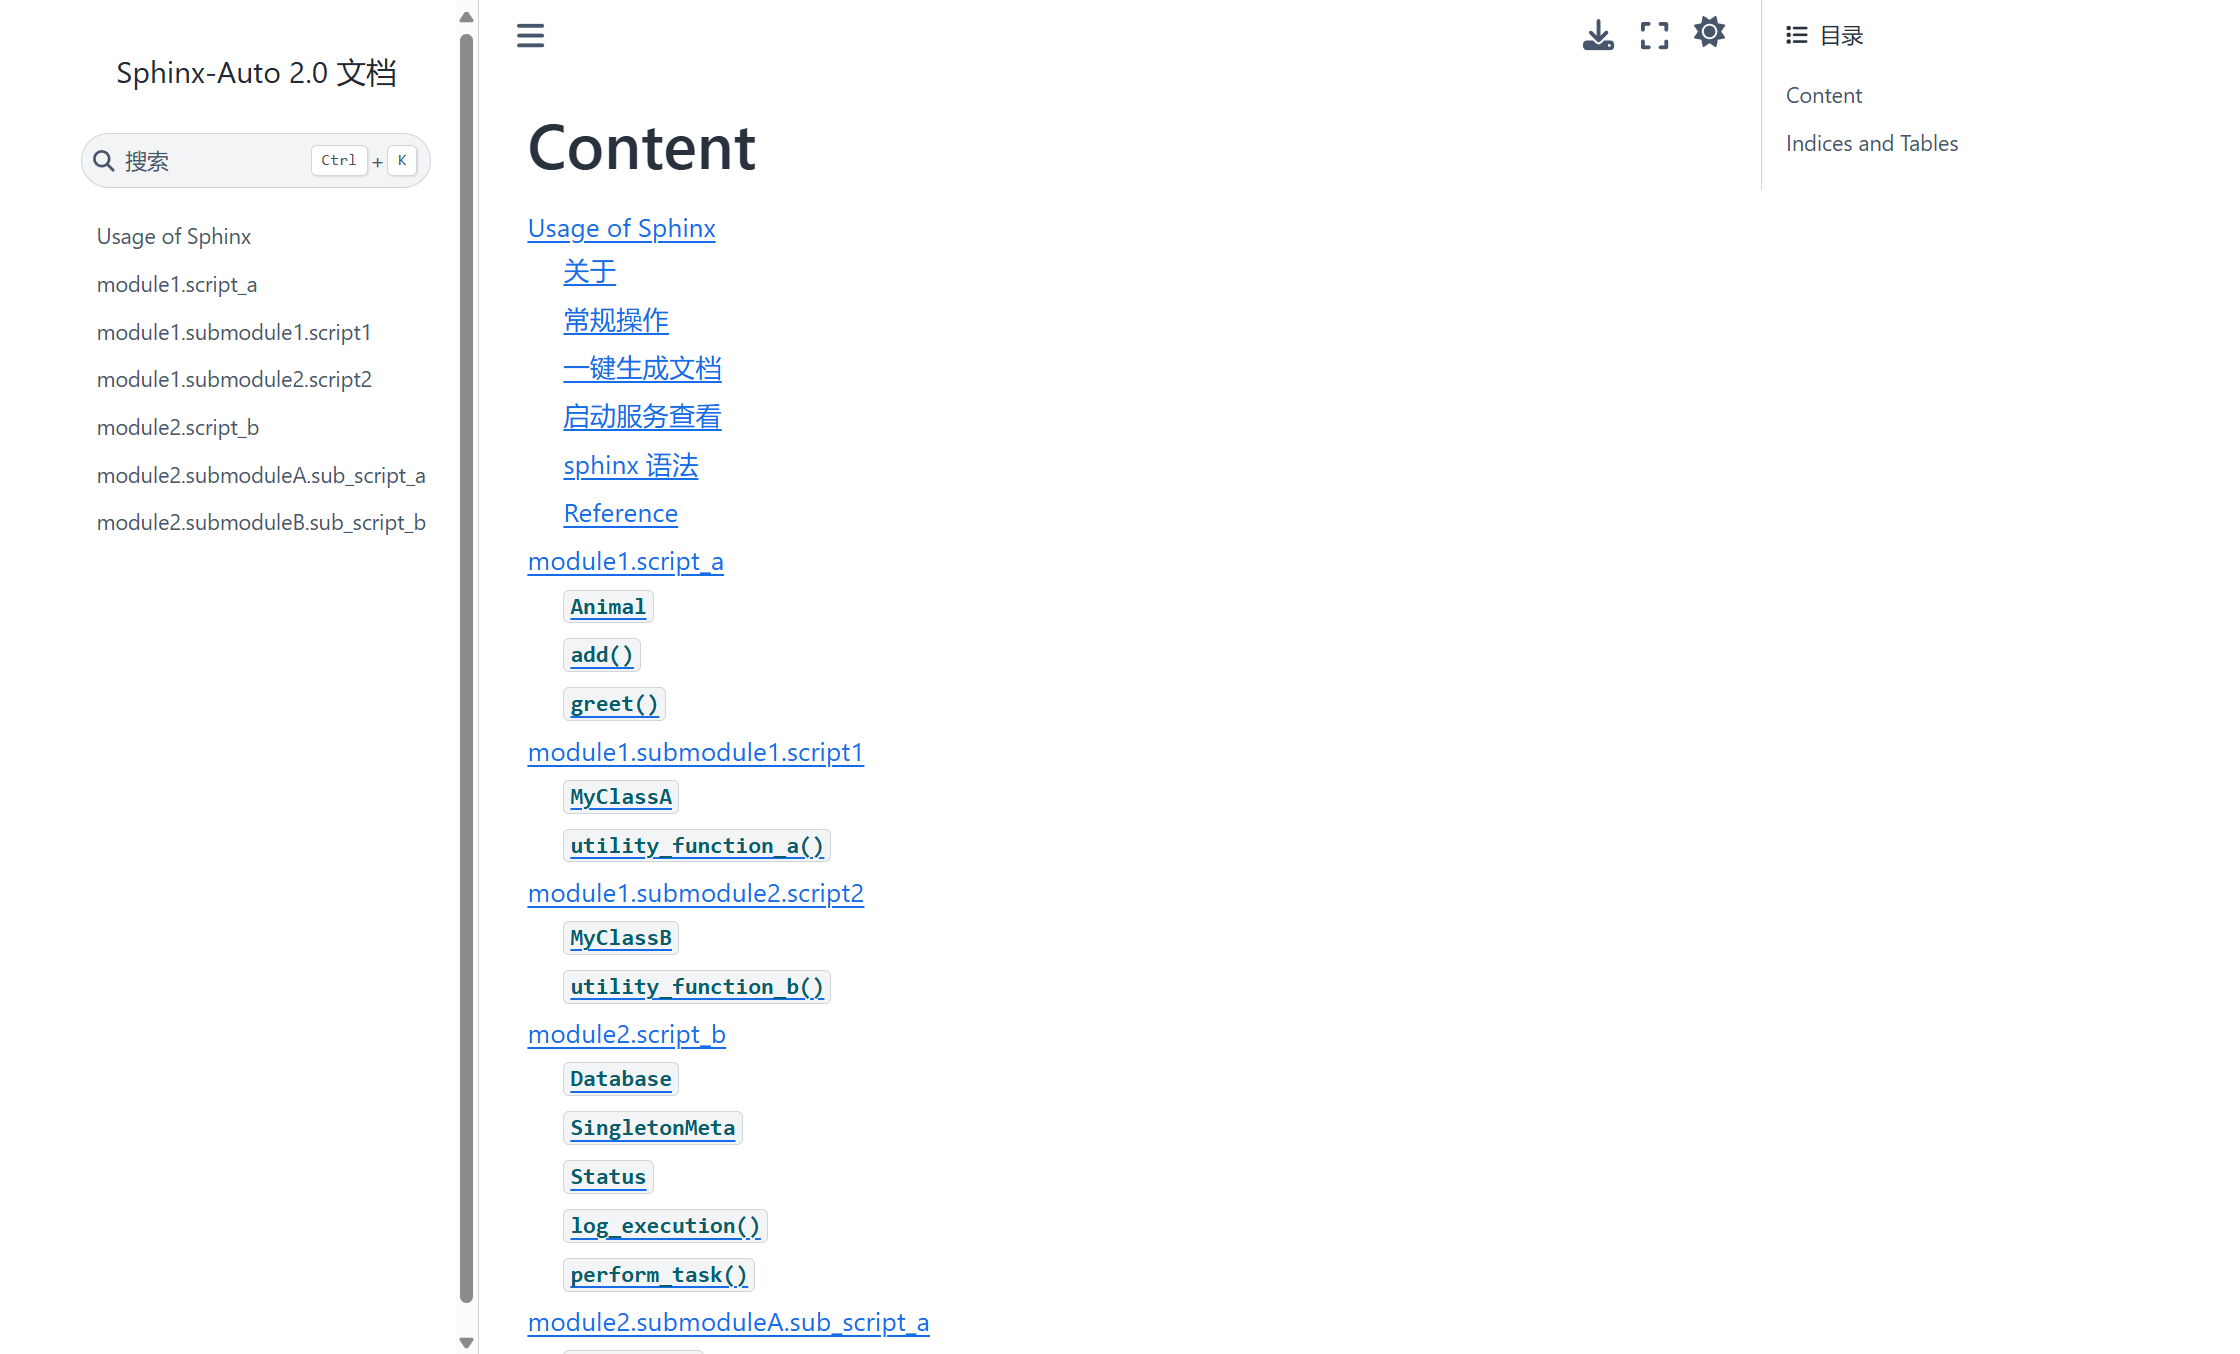
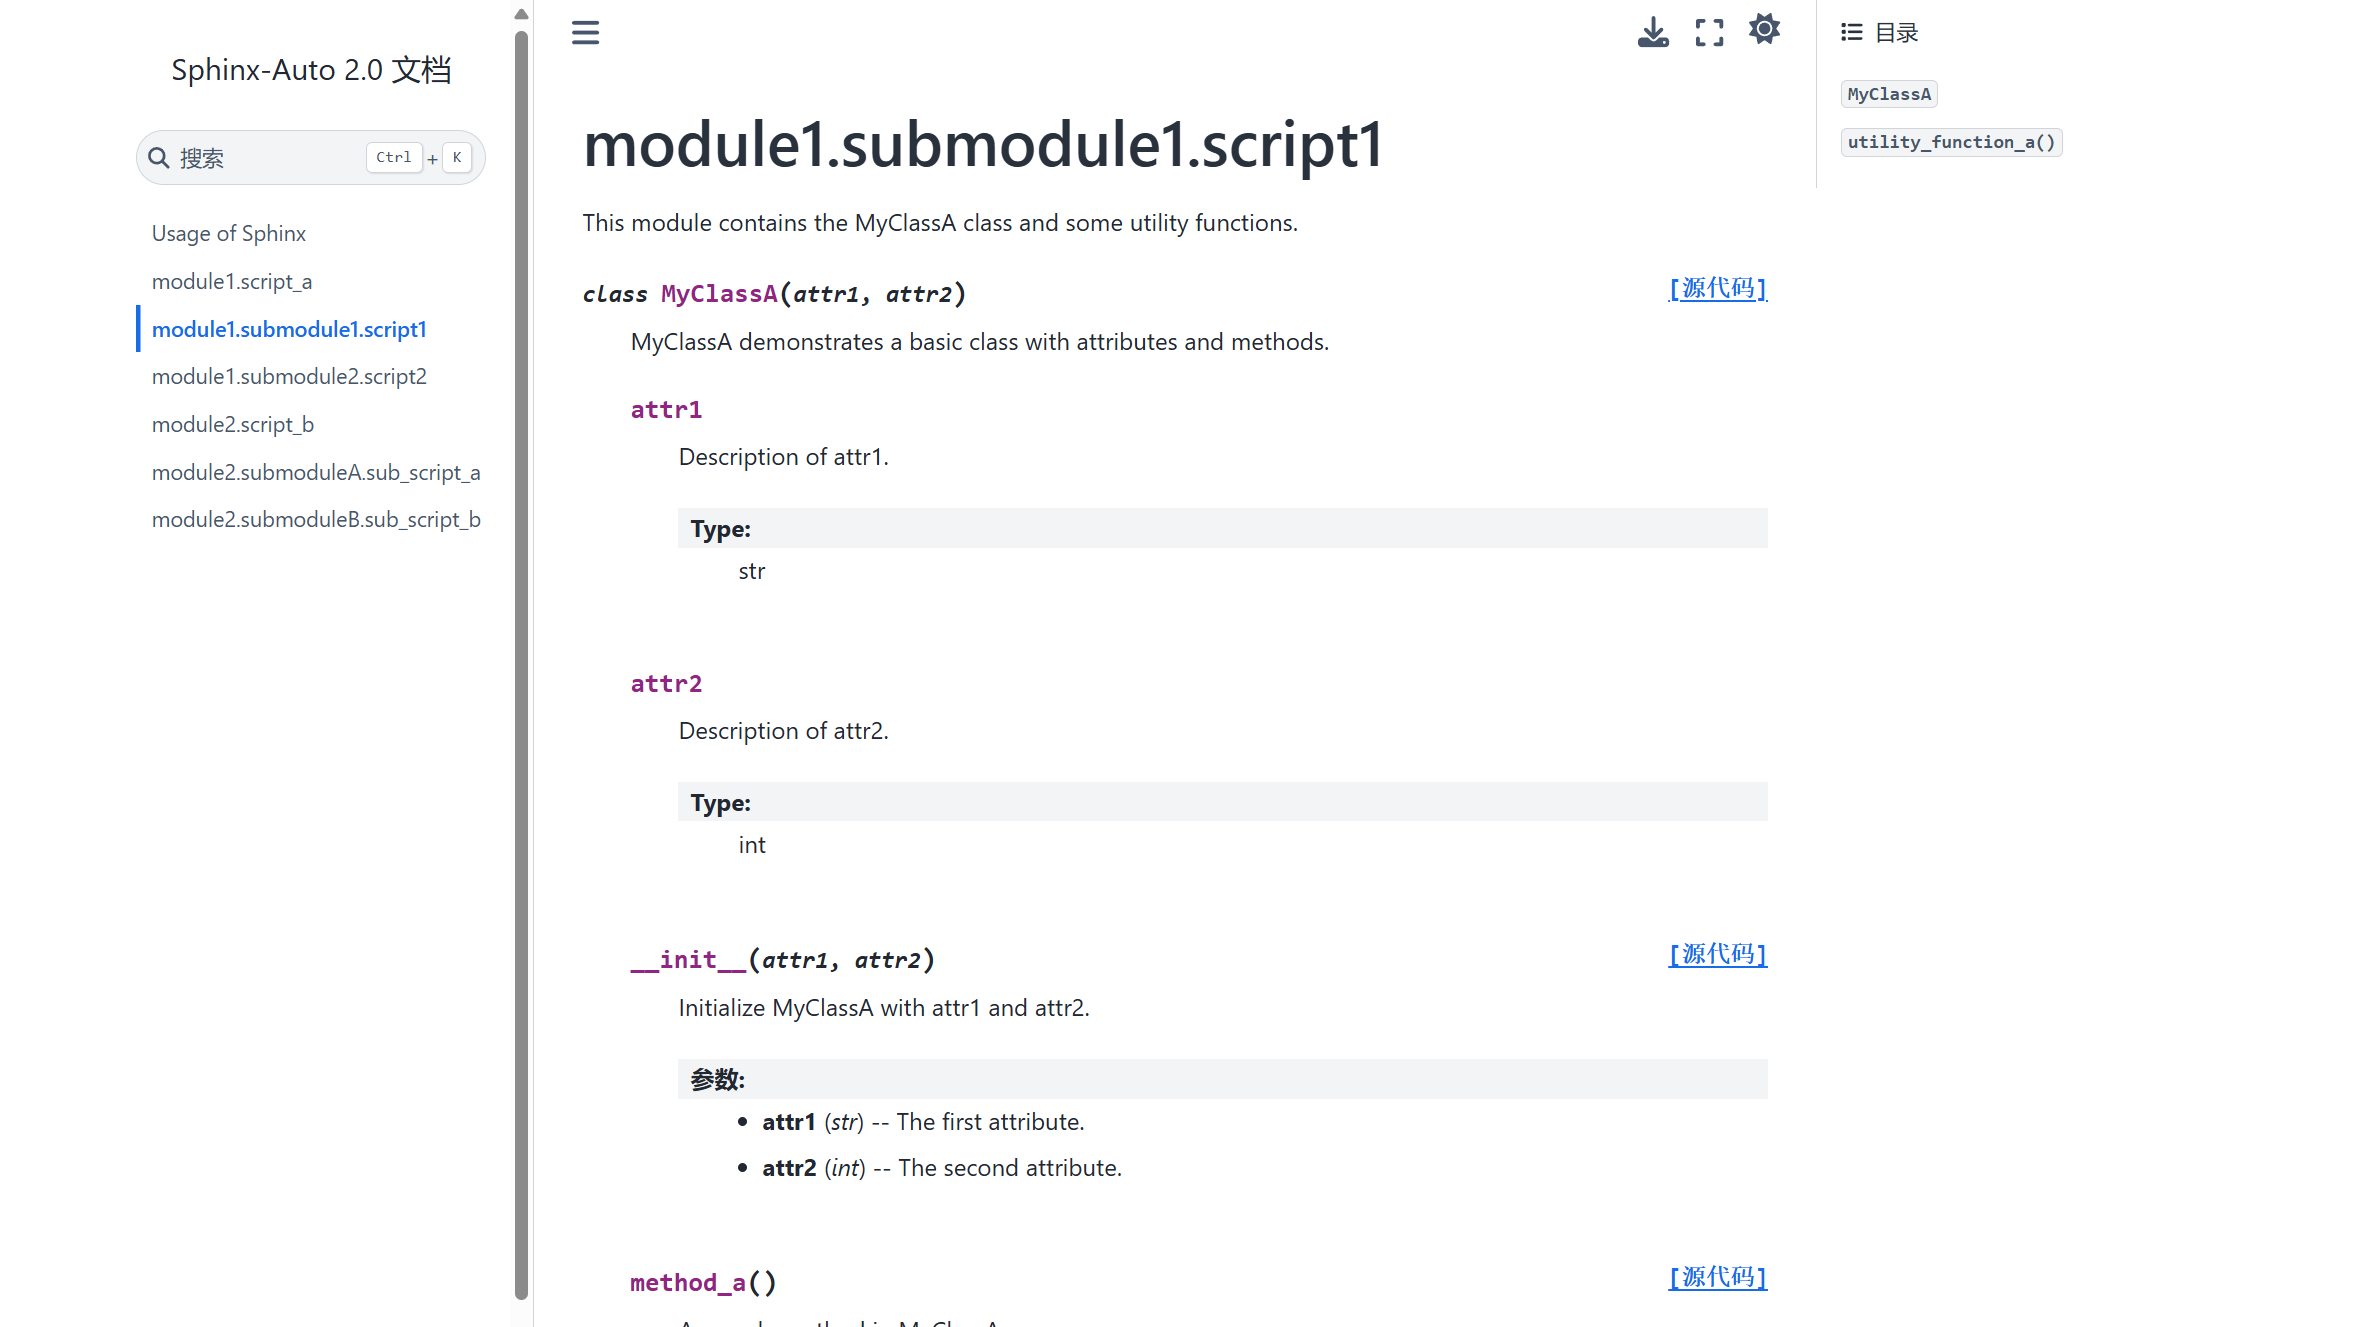
在线展示我的Demo: Content — Sphinx-Auto 2.0 documentation
关于
现在自动化框架暂无清晰的API文档,给今后的代码编写、查阅及维护造成一定的困扰,为了实现将所有测试用例脚本中的注释导出、查阅,查阅网上多数人使用的工具,决定采用sphinx实现自动产生参考文档、索引等。
sphinx的优点:
- 支持多种输出格式:html、Latex、ePub等;
- 丰富的扩展
- 结构化文档
- 自动索引
- 支持语法高亮
环境配置
- 安装 Python3
- sphinx:
pip install sphinx
常规操作
进入 doc 目录下,输入
sphinx-quickstart,会出现一些选项,根据需要填写即可1
2
3
4
5
6
7
8
9
10
11
12
13
14
15
16
17
18
19
20
21
22
23
24
25
26
27
28
29
30
31
32
33PS D:\Developer\SphinxAuto\doc> sphinx-apidoc -o ./source ../src/
PS D:\Developer\SphinxAuto\doc> sphinx-quickstart
Welcome to the Sphinx 8.1.3 quickstart utility.
Please enter values for the following settings (just press Enter to
accept a default value, if one is given in brackets).
You have two options for placing the build directory for Sphinx output.
Either, you use a directory "_build" within the root path, or you separate
"source" and "build" directories within the root path.
> Separate source and build directories (y/n) [n]: y
The project name will occur in several places in the built documentation.
> Project name: Sphinx-Auto
> Project release []: 2.0
If the documents are to be written in a language other than English,
you can select a language here by its language code. Sphinx will then
translate text that it generates into that language.
For a list of supported codes, see
https://www.sphinx-doc.org/en/master/usage/configuration.html#confval-language.
> Project language [en]: zh_CN
Creating file D:\Developer\SphinxAuto\doc\source\conf.py.
Creating file D:\Developer\SphinxAuto\doc\source\index.rst.
Creating file D:\Developer\SphinxAuto\doc\Makefile.
Creating file D:\Developer\SphinxAuto\doc\make.bat.
Finished: An initial directory structure has been created.
You should now populate your master file D:\Developer\SphinxAuto\doc\source\index.rst and create other documentation
source files. Use the Makefile to build the docs, like so:
make builder
where "builder" is one of the supported builders, e.g. html, latex or linkcheck.然后出现以下目录结构:
1
2
3
4
5
6
7
8
9doc
├── build
├── source
│ ├── conf.py
│ ├── index.rst
│ ├─_static
│ └─_templates
├── make.bat
└── Makefile部分分解说明
- Makefile:可以将它看作是一个包含指令的文件,在使用
make命令时,使用这些指令来构建文档输出。 - build:这是触发特定输出后用来存放所生成的文件的目录。
- conf.py:这是一个 Python 文件,用于存放 Sphinx 的配置值,包括在终端执行
sphinx-quickstart时选中的那些值。 - index.rst:文档项目的 root 目录。如果将文档划分为其他文件,该目录会连接这些文件。
- Makefile:可以将它看作是一个包含指令的文件,在使用
conf.py文件中可以修改配置:
配置confi.py:
1
2
3import os
import sys
sys.path.insert(0, os.path.abspath('../../src')) # 指向src(需要导出用例的目录)为sphinx添加扩展:
1
2
3
4
5
6
7
8extensions = ['sphinx.ext.autodoc',
'sphinx.ext.doctest',
'sphinx.ext.intersphinx',
'sphinx.ext.todo',
'sphinx.ext.coverage',
'sphinx.ext.mathjax',
'sphinx.ext.napoleon'
]更换sphinx的主题:
1
2
3
4# html_theme = 'alabaster' 默认主题
import sphinx_rtd_theme # 需要先pip install sphinx_rtd_theme
html_theme = 'sphinx_rtd_theme'
html_theme_path = [sphinx_rtd_theme.get_html_theme_path()]大部分主题 Sphinx Themes Gallery (sphinx-themes.readthedocs.io),特别是对于命名+入参很长的函数,显示效果都不如 furo 和 sphinx_book_theme 。
使用发现这两个主题有一些差异:
- furo
- 在渲染 markdown 文件时,会将所有一级标题(
#标题)都显示在侧边栏中,因此会展示 README.md 文件中的所有一级标题(如 Usage、接口文档、其他注意事项 等) - 展示 python 模块时,右侧边栏会列出所有的函数,包括类的方法
- 在渲染 markdown 文件时,会将所有一级标题(
- sphinx_book_theme
- 在渲染 markdown 文件时,默认只显示第一个一级标题,不展开后续的一级标题内容,简化左侧边栏,不支持定制
- 展示 python 模块时,右侧边栏只会列出类名、函数,不包括类的方法
- furo
生成html文件
进入 doc 目录,如下操作,会把src所有文件一次性生成,可能会产生重复内容:
1
sphinx-apidoc -o ./source ../src/ # 这是将src目录下的所有py脚本注释导出,包括src中所有子目录中的脚本
需要导出哪个目录的脚本注释,就单独导出。
正确操作:命令行切换到doc目录下,依次执行:
1
sphinx-apidoc -o [生成rst的位置] [项目代码的位置] -f(强制重新覆盖写,否则会检测,如果有同名文件存在,会跳过不更新)
1
2sphinx-apidoc -o ./source ../src/scripts1/ # 这是将src/scriptes1/目录下的所有py脚本注释导出,包含子目录中的py脚本
sphinx-apidoc -o ./source ../src/scripts2/再执行:
1
2make clean # 删除build目录下的文件(第一次build为空文件夹)
make html # 在build目录下生成 doctrees、html 目录确认最后输出中含有
build succeesed,再去build/html目录中检查是否生成了对应的html等其他文件。谷歌浏览器打开build/html/index.html,查看API文档
有个问题,sphinx-apidoc -o ./source ../src/ 方式生成的 .rst 文件后,打开 html,没有展示出各个模块,需要手动去修改 index.rst 文件,很复杂。所以不采用这种命令生成方式。而是手动配置 .rst 文件, 不断调试,让页面展示成我想要的样子,接着用 python 脚本处理,自动化构造 .rst 文件。
一键生成文档
为了省事,编写 auto_generate.py ,完成文档的编译和更新,并在浏览器中打开。
脚本已经很好地实现了自动化生成 Sphinx 文档的功能,包括创建 .rst 文件、构建 index.rst 索引、拷贝 README 文件,并调用 sphinx-autobuild ,在生成 .rst 文件后进行编译,生成实时 HTML 文档。不用再手动执行 make clean,make html 手动编译。
自动化脚本没有使用 sphinx-apidoc 来生成 .rst 文件,而是构造色生成 .rst 文件,通过排版布局,来显示文档。
index.rst 文件
1 | Content |
启动服务查看
本地直接打开 html 文件, Content — Sphinx Demo 2.0 文档
使用 python3 自带的
http.server模块快速启动一个静态文件服务器python -m http.server 80011
2
3
4PS D:\Developer\SphinxAuto\doc\build> python -m http.server 8001
Serving HTTP on :: port 8001 (http://[::]:8001/) ...
::ffff:127.0.0.1 - - [02/Nov/2024 01:01:20] "GET / HTTP/1.1" 200 -
::ffff:127.0.0.1 - - [02/Nov/2024 01:01:20] "GET /_static/pygments.css?v=a746c00c HTTP/1.1" 200 -执行命令,在
doc/build启动一个 HTTP 服务器,访问:Content — Sphinx Demo 2.0 文档Sphinx 内置服务器
1
pip install sphinx-autobuild
1
2sphinx-autobuild <source_dir> <build_dir> --host 0.0.0.0 --port 8001
sphinx-autobuild .\source\ .\build\ --host 0.0.0.0 --port 80011
2
3
4
5
6
7
8
9
10
11
12
13
14
15
16
17
18
19
20
21
22
23
24PS D:\Developer\SphinxAuto\doc> sphinx-autobuild .\source\ .\build\ --host 0.0.0.0 --port 8001
[sphinx-autobuild] Starting initial build
[sphinx-autobuild] > python -m sphinx build '.\source\' '.\build\'
Running Sphinx v8.1.3
loading translations [zh_CN]... done
WARNING: html_static_path entry '_static' does not exist
loading pickled environment... The configuration has changed (4 options: 'html_permalinks_icon', 'html_sourcelink_suffix', 'html_theme_options', 'templates_path')
done
myst v4.0.0: MdParserConfig(commonmark_only=False, gfm_only=False, enable_extensions=set(), disable_syntax=[], all_links_external=False, links_external_new_tab=False, url_schemes=
('http', 'https', 'mailto', 'ftp'), ref_domains=None, fence_as_directive=set(), number_code_blocks=[], title_to_header=False, heading_anchors=0, heading_slug_func=None, html_meta=
{}, footnote_sort=True, footnote_transition=True, words_per_minute=200, substitutions={}, linkify_fuzzy_links=True, dmath_allow_labels=True, dmath_allow_space=True, dmath_allow_di
gits=True, dmath_double_inline=False, update_mathjax=True, mathjax_classes='tex2jax_process|mathjax_process|math|output_area', enable_checkboxes=False, suppress_warnings=[], highlight_code_blocks=True)
building [mo]: targets for 0 po files that are out of date
writing output...
building [html]: targets for 0 source files that are out of date
updating environment: 0 added, 0 changed, 0 removed
reading sources...
looking for now-outdated files... none found
no targets are out of date.
build succeeded, 1 warning.
The HTML pages are in build.
[sphinx-autobuild] Serving on http://0.0.0.0:8001
[sphinx-autobuild] Waiting to detect changes...访问:Content — Sphinx Demo 2.0 文档
好处:监测 doc 目录中的文件是否变化,在第一次编译成功后,只要改动了文件内容、文件位置变化等,它会自动重新编译。当然,如果是 src 工程代码变化,不会被自动检测到,需要手动更新 rst 文件。
sphinx 语法
sphinx采用 reStructuredText (reST) 的概念和语法 。
章节标题: 在双上划线符号之间(或为下划线), 并且符号的长度不能小于文本的长度:
1
2
3Welcome to UTest API documentation!
=======================================通常没有专门的符号表示标题的等级,但是对于Python 文档,可以这样认为:
#及上划线表示部分*及上划线表示章节=, 小章节-, 子章节^, 子章节的子章节", 段落
内联标记 (与markdown语法一致)
- 星号:
*text*斜体: example演示 - 双星号:
**text**加粗 :example演示 - 反引号: ```code``` 代码样式:
example演示
注:星号及反引号在文本中容易与内联标记符号混淆,可使用反斜杠符号转义.
标记的一些限制:
- 不能相互嵌套
- 内容前后不能由空白: 这样写
* text*是错误的 - 如果内容需要特殊字符分隔. 使用反斜杠转义,如:
thisis\ *one*\ word
- 星号:
列表
列表标记仅在段落的开头,列表可以嵌套,但是需跟父列表使用空行分隔
1
2
3
4
5
6
7
8
9
10
11
12
13
14
15
16
17
18
19
20
21
22* Item Foo
* childitem foo1
* childitem foo2
* Item Bar
1. childitem bar1
2. childitem bar2
#. Item 1
#. Item2
* childitem foo1
* childitem foo2
1. item3
2. item4
1. childitem1
2. chidlitem2
跳转到某一标签
方式一:
标签直接放在章节标题前面
在 demo1.rst 中设置标签:
1
2
3
4
5.. _demo1.py-label:
demo1 module
============在其他文件中可以通过 :ref:`demo1.py-label` 来跳转
1
2:ref:`demo1.py-label`.
方式二:
标签不放在章节开头,但是需要给出明确的链接
在demo3.rst中设置标签,此时标签可以不放在章节开头:
1
2
3
4demo3 module
============
.. _demo3.py-label:在其他文件中可以通过 :ref:`name <demo3.py-label>`. 来跳转,这里name可以任意命名
1
2:ref:`name <demo3.py-label>`.
显性标记
显性标记不展示在html中,有点像注释的感觉。主要是用在那些需做特殊处理的reST结构中,如尾注,突出段落,评论,通用指令。显式标记以
..开始,后跟空白符,段落的缩进一样。(在显示标记与正常的段落间需有空行)1
2
3
4
5
6
7.. sphinx_demo documentation master file, created by
sphinx-quickstart on Fri Nov 1 11:10:41 2019.
.. toctree::
:maxdepth: 4
:caption: Contents:某个测试框架使用模板:
1
2
3
4
5
6
7
8
9
10
11
12
13
14
15
16
17
18
19
20
21
22
23
24
25
26
27
28
29
30
31
32
33
34def test_123():
"""
[用例描述]:
版本测试用例简述(通俗易懂)
[测试策略]:
* 跳过条件;
* 设备间策略差异等.
[测试数据]:
1. 示例1:遍历测试所有支持的编码格式
2. 示例2:不同采集制式下,遍历不同ucode模式
[前置条件]:
1. module-setup_module:
2. class-setup_class:
3. function-setup_function:
[测试步骤]:
1. 示例1:
1. 设置(修改)。。。。,检查。。。;
2. 设置。。。。,检查。。。;
3. 设置。。。。,检查。。。;
2. 示例2:
1. 设置。。。。;
2. 设置。。。。;
3. 检查的违章包括:
* 压线、 11
* 压双黄线、 9
* 压单黄线、10
* 逆行、2
[后置条件]:
1. function-setup_function:
2. class-setup_class:
3. module-setup_module:
"""
pass注意点:
- 注释中的换行一律使用Enter,然后使用Tab缩进;
- 在[用例描述]:[测试策略]:这样的标题后面不要写文字,Enter换行后写; 如果没有需要添加的内容,换行后写“无”字;
- 对于选择用序号1.2.3还是* , 如果有明确的先后步骤请使用1.2.3. , 没有先后顺序或步骤根据自己审美选择用1.2.3或* ;
- 使用1.2.3.时需要英文输入法, 同时注意标记符号与 内容之间需要有空格;
Reference
代码风格:
markdown 纯文档 sphinx demo
source/Cpp/01设计模式/index.rst · xxpcb/SphinxDemo - 码云 - 开源中国 (gitee.com)
小记:他这边用了多个 index.rst,配合多级目录,嵌套使用,侧边栏可以点击展开。